Normally a round of applause after a great performance would be sufficient, but when there is no curtain to close, you need a little something to set off the stage. In the case of Caroline's wedding, we opted for GIANT FRINGE.
Photography by Elissa R Photography
The then-future Mrs. May stumbled across this idea where else but Pinterest. So, naturally, it became one of my next DIY adventures. Fortunately, this was one of the easier items I was tasked with, so if you’re looking for something totally do-able, this one is for you!
It's perfect for school plays, dance recitals, graduations, birthday parties, and everything in between. Even better, it's a great bang for your buck.
So, here’s the quick and dirty on how to make some giant fringe:
STEP 1: Bite the Bullet and Make the Purchase
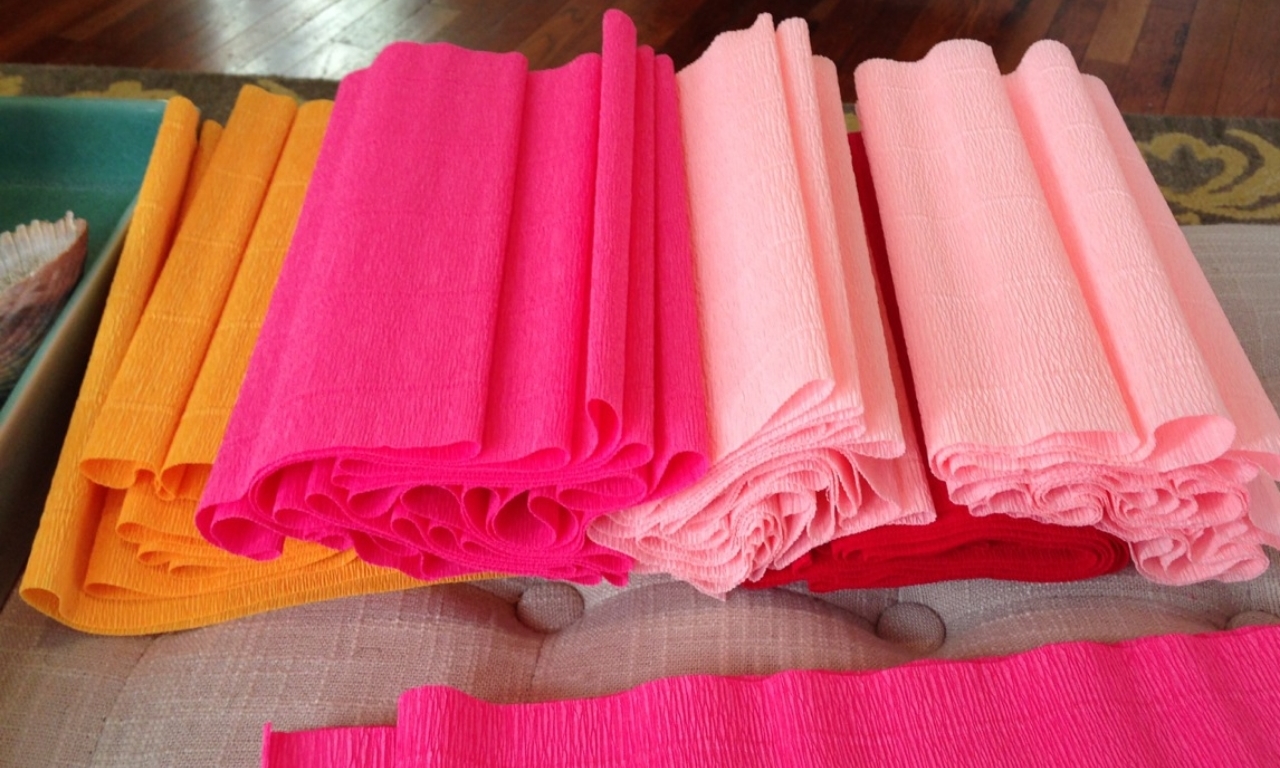
Assuming you know your color scheme, start searching for crepe paper. This is the big commitment purchase.
I got my paper here. It's reasonably priced and has a great selection of colors. Best of all, the paper was high quality enough that I didn’t have any issues with it ripping.
Make sure you know how much you need before you order. From this supplier, the paper comes in approximately 8-foot lengths, which is perfect for a backdrop. The pieces were 20 inches wide, so all I did was divide my backdrop's width by 20 to get the number of rolls to order. As you can see, the backdrop was quite large, but that meant more colors for us!
Other items to have handy include a good pair of scissors (sharp plus a good grip) and whatever supplies you need to hang it. (See step 3, as there are various ways one could go about hanging up the giant fringe, which range from extremely simple to a bit more complex.)
STEP 2: SNIP, SNIP, SNIP
Get ready to “just keep snipping.” That was my motto!
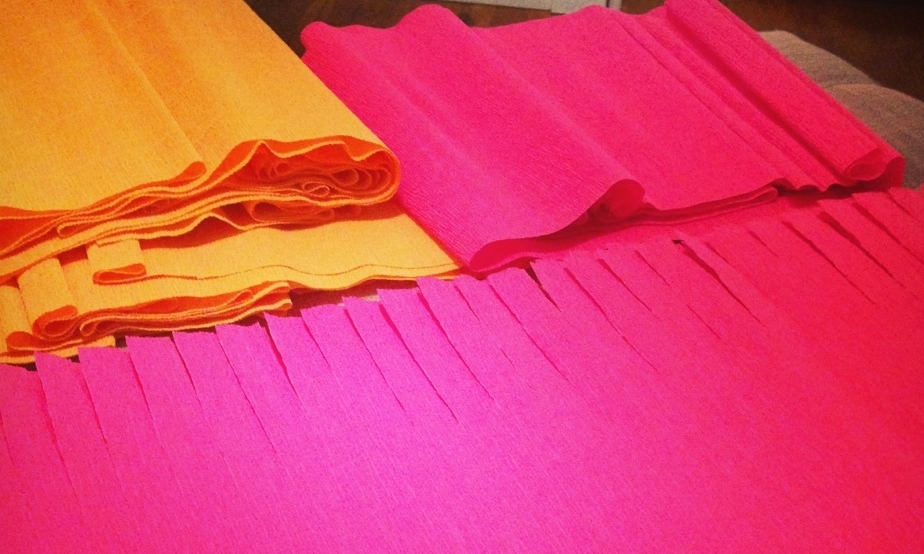
I thought the 20-inch width might be overwhelming for our space, so I cut each strip in half “hot-dog style” in order to essentially double my quantity (an added perk). If you have a small room, as in a residence, you may want to consider going even narrower.
Don’t worry about the cuts being perfectly straight – I mean, don’t go crazy either – but if you sway a little, it just adds character! I measured mine about every 6 to 8 inches as I was cutting to make sure I wasn't veering off to one side or another.
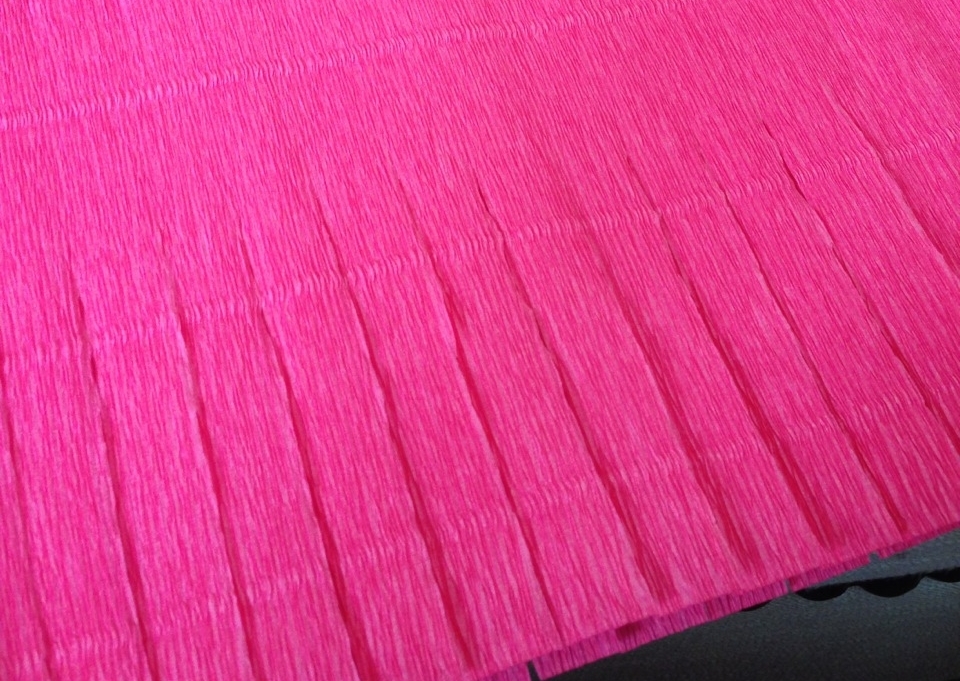
Once your pieces are cut into the long strips, it’s time for the fringing! Really, it’s just A LOT of small cuts. I left about 2 inches before I started fringing from the top, so that I had space to easily attach from. Then, I cut fringes about ½ an inch wide for the entire length of the crepe paper.


As far as the width of cuts go – DON’T cut halfway across! You’ll want to leave about 3 solid inches in the middle. This will allow some stability to your fringe. Trust me, even with that, it will still have plenty of movement.
My recommendation would be to cut one side first, then the other for the full length. Don’t worry about lining up your cuts across the piece – you’ll never be able to tell once you stand back to look at it!
STEP 3: GETTING READY TO SHOW IT OFF!
Now comes the point where you can really start to see the fruits of your labor paying off (finally).
There’s about a million different ways you can choose to hang your fringe, depending on the event space. In a doorway, some simple packing tape will probably do the trick. If you're outdoors or making a stage backdrop, you may need to make your own frame to hang it from out of wood or PVC pipe.
I’m not sure if you get as antsy as I do when working on one of these projects, but after the first piece was cut I had to hang it from the curtain rod in my apartment. Even with just one strip, I could see the effect start to come together and it just motivated me to keep going.
If you’re trying to make a large statement piece, like we did, you may need to get a bit more creative. One idea that I’ve seen (and we ended up using) is to have a PVC Stand built, then hang the fringe from the top.
You can add some extra depth to your backdrop by twisting, as we did. We switched directions and put different amounts of twists in each run in order to spark a little more interest.
Photography by Elissa R Photography
STEP 4: APPLAUD YOURSELF
Once your fingers are sore and callused, take a big step back to appreciate your hard work. Not only is this a statement piece for your event, but something for your friends to talk about for weeks. Enjoy it!
Just a shot above of my brother, the groom, giving at toast in front of the backdrop. Just a little brag. No shame in that game!
Photography by Elissa R Photography


